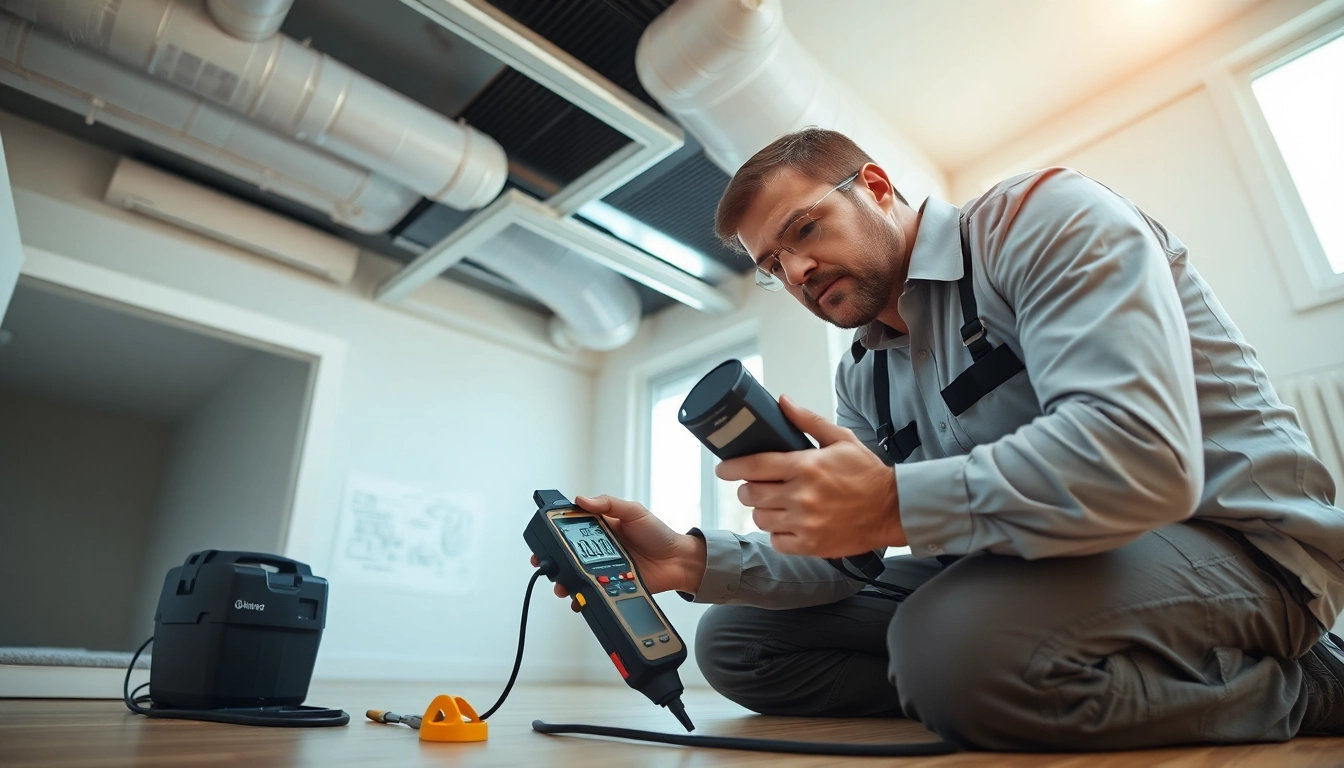
Understanding Duct Leakage Test
What is a Duct Leakage Test?
A Duct leakage test is a specialized diagnostic procedure designed to evaluate the airtightness of ductwork within heating, ventilation, and air conditioning (HVAC) systems. This test measures the volume of air leaking from ducts relative to the total air supply, which is critical for ensuring energy efficiency and indoor air quality. During the testing process, a calibrated blower is installed to pressurize or depressurize the duct system, allowing technicians to identify and quantify leaks accurately.
Importance of Duct Leakage Testing
Conducting a duct leakage test is paramount for both residential and commercial properties for several reasons:
- Energy Efficiency: Duct leaks can significantly diminish the efficiency of an HVAC system, leading to higher energy bills. By identifying these leaks, homeowners can make necessary repairs that improve energy savings.
- Indoor Air Quality: Leaky ducts may allow contaminants from attics, crawl spaces, or walls to enter the air stream, degrading indoor air quality. Conducting a test helps ensure that the air being circulated is clean and safe.
- Compliance: Many building codes and standards, such as the International Energy Conservation Code (IECC), necessitate duct tightness verification. Ensuring compliance can avoid potential fines and facilitate necessary certifications.
Common Causes of Duct Leakage
Understanding the causes of duct leakage is essential for effective remediation. The most common causes include:
- Poor Sealing: Improperly sealed joints and connections can lead to significant air loss.
- Age and Wear: Over time, ducts can degrade due to environmental factors, leading to cracks and holes.
- Improper Installation: Ducts that are poorly installed may not fit correctly, leading to gaps and inefficient airflow.
- Structural Movement: Settling foundations or changes in structure can cause duct systems to shift, leading to new leaks.
Preparing for a Duct Leakage Test
Necessary Tools and Equipment
Having the right tools and equipment is vital for effectively conducting a duct leakage test. Essential tools include:
- Duct Leakage Tester: A blower door or duct tester can pressurize or depressurize the system to measure duct leakage accurately.
- Manometer: This device measures pressure differences inside the duct system, essential for evaluating duct tightness.
- Sealing Material: Mastic or duct tape for sealing any detectable leaks during the test.
- Inspection Camera: Useful for inspecting hard-to-reach areas within the ductwork for damage or blockages.
Choosing a Qualified Technician
Selecting a qualified technician to perform the duct leakage test is crucial to ensure accuracy and reliability. Here are some key points to consider:
- Certification: Look for technicians with certifications from recognized organizations in the HVAC industry, such as the Building Performance Institute (BPI).
- Experience: Technicians with years of experience in duct testing and repairs are more likely to identify issues quickly and accurately.
- References: Ask for references or read reviews from previous customers to assess the technician's reputation and reliability.
Homeowner's Guide to Preparation
As a homeowner, you can take several steps to prepare for a duct leakage test:
- Clear Obstructions: Remove furniture or any objects blocking access to ducts, vents, or registers.
- Schedule at an Optimal Time: Conduct the test during mild weather conditions when the HVAC system is not under heavy load.
- Inform All Occupants: Notify all household members about the testing schedule to minimize disruption.
Performing the Duct Leakage Test
Step-by-Step Testing Procedure
The following is a general step-by-step procedure for performing a duct leakage test:
- Initial Inspection: Assess the duct system for signs of visible wear, damage, or improper installation.
- Seal Off Vents: Use appropriate materials to temporarily seal registers and vents to prevent external air interference.
- Set Up the Tester: Install the blower door or duct leakage tester according to the manufacturer's instructions.
- Conduct the Test: Activate the blower to create a pressure differential, while monitoring gauges to measure leakage rates.
- Record Results: Document the leakage measurements for analysis and reporting.
- Final Inspection: After testing, inspect the duct system again to identify and mark any detected leak locations for repair.
Interpreting Test Results
Understanding the results of a duct leakage test is critical for determining the necessary actions:
- Leakage Rate: Determine the cubic feet per minute (CFM) of air leakage. Compare this with established standards to evaluate system performance.
- Location of Leaks: Identify where significant leaks occur, as this will inform which sections of ductwork require repairs or sealing.
- Recommendations: A qualified technician should provide actionable recommendations based on the results, including necessary repairs and improvements.
Common Issues and Solutions
Identifying duct leaks can lead to various common issues, including:
- Excessive Energy Costs: Sealing leaks almost always results in lower energy bills. Consider air sealing as a cost-effective solution.
- Poor Air Quality: Ensure ducts are sealed and cleaned to prevent contaminants from being circulated. Regular maintenance is key.
- Uneven Temperatures: Patch leaks in the duct system to promote balanced airflow throughout the spaces served by the HVAC system.
Post-Test Actions
Repairing Duct Leakages
Upon concluding the test, repairing identified duct leakages is crucial. Recommended repair strategies include:
- Sealing Solutions: Use mastic, foil tape, or specialty duct sealants to seal gaps and joints effectively.
- Replacing Damaged Sections: In cases of severe damage or degradation, replacing sections of ductwork may be necessary.
- Hire Professionals: For comprehensive repairs or if you’re unsure how to proceed, hiring a qualified technician is advisable.
Cost Considerations and Energy Savings
Understanding the costs associated with duct leakage testing and repairs can help homeowners make informed decisions:
- Testing Costs: The cost for a duct leakage test varies based on the system size and local rates but generally ranges from $100 to $300.
- Repair Costs: Sealing ducts is relatively affordable, with materials often costing less than $50. Hiring a professional can raise costs but may yield better results.
- Energy Savings: Repairing duct leaks can lead to a 20-30% reduction in energy bills, making it a wise investment.
Follow-Up Testing and Maintenance
After repairs have been executed, follow-up duct leakage testing is advisable. Regular maintenance sessions should also be scheduled to ensure ongoing efficiency:
- Annual Testing: Consider conducting duct leakage tests annually or whenever significant HVAC system modifications occur.
- Maintenance Checks: Frequent evaluations of the ductwork help catch issues before they escalate.
- Regular Filter Changes: Changing air filters as part of routine HVAC maintenance can also promote good airflow and system performance.
Frequently Asked Questions about Duct Leakage Test
What are the signs of duct leakage?
Common signs include uneven temperatures in rooms, increased energy bills, excessive dust and debris around vents, and a musty odor in air circulation.
How can I reduce duct leakage?
Reduce duct leakage by sealing joints and connections with mastic or duct tape, ensuring proper insulation, and regular professional inspections and maintenance.
Are duct leakage tests mandatory?
Yes, many building codes require duct leakage testing, especially for energy efficiency compliance in new constructions and significant renovations.
What equipment is used for testing?
The equipment typically used includes duct leakage testers, blowers, manometers, and sealing materials for any discovered leaks during testing.
How long does a duct leakage test take?
A typical duct leakage test can take anywhere from 1 to 2 hours, depending on the size and complexity of the ductwork system being evaluated.